Lifestyle Product Photos: A Practical Guide for Small Brands
Discover how to create impactful lifestyle product photos. Learn essential tips that help small brands showcase their products in real-life contexts.
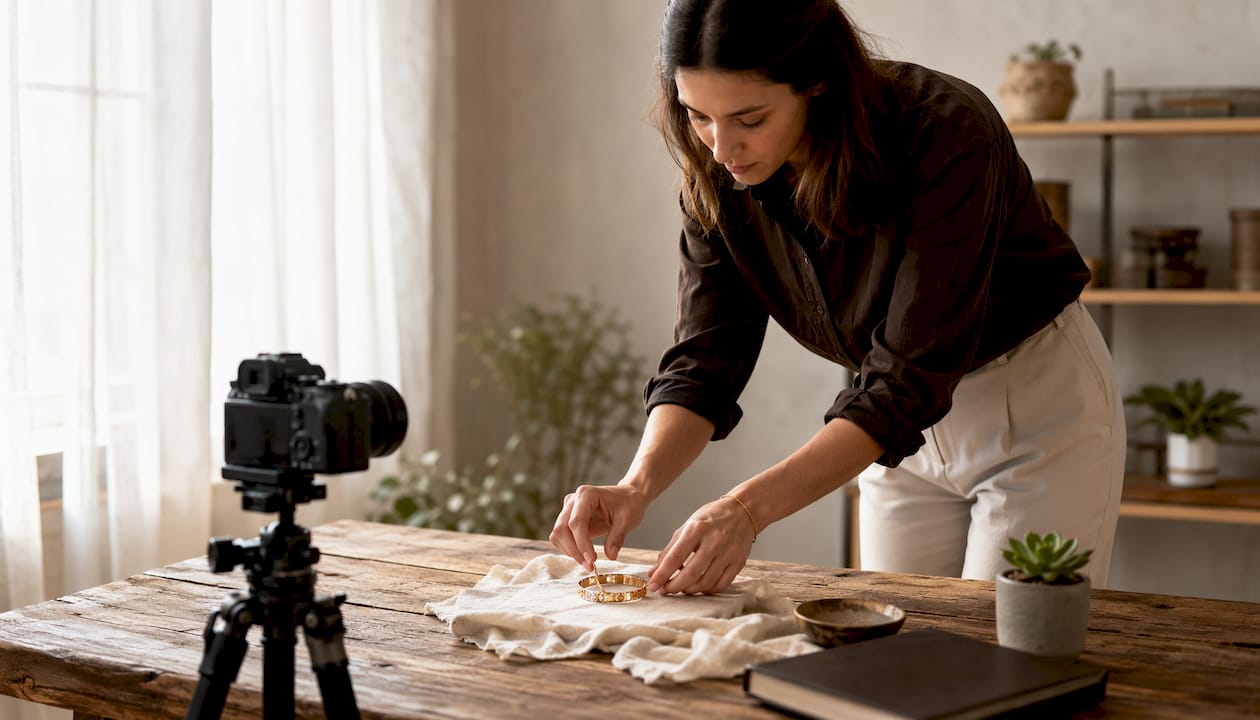
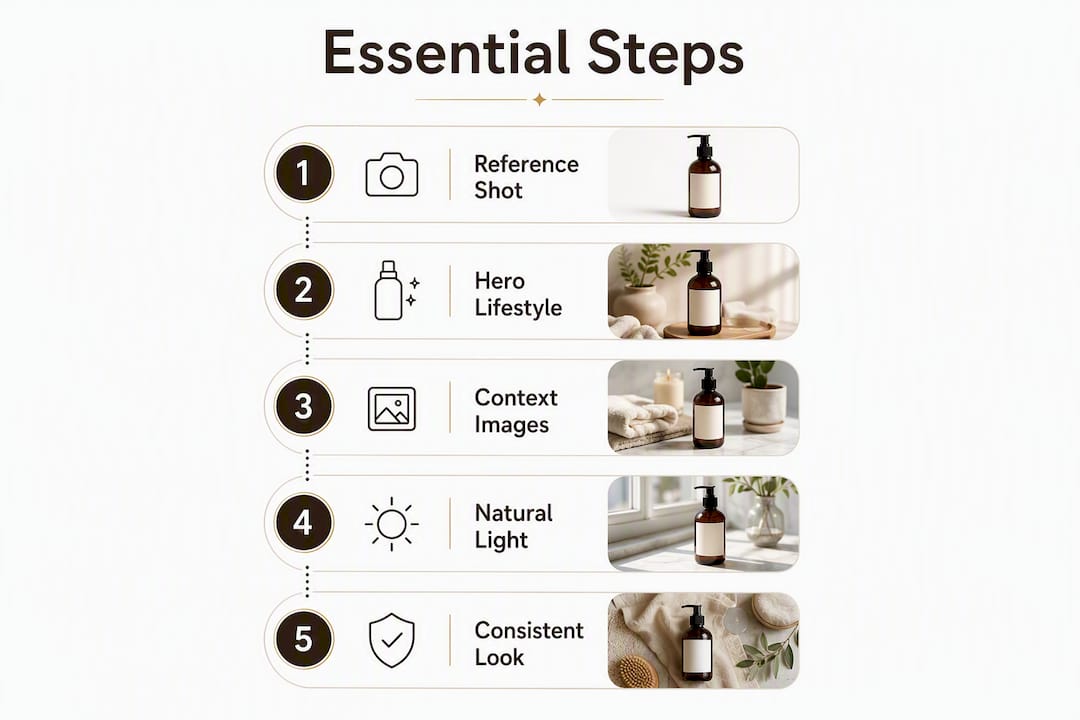
A lifestyle product photo shows your product inside a real-life context so buyers can picture owning it. Three things to do right now: lock a clean reference shot of the product alone, pick one specific buyer moment to show (morning coffee ritual, post-gym routine, weekend hike), and choose a single light source and commit to it.
- Lock your reference shot first. A sharp, well-lit photo of the product by itself is the anchor for every lifestyle scene you build around it. Skip this and labels drift, proportions look wrong, and retouching takes twice as long.
- Choose one buyer context. A candle on a marble bathroom shelf tells a cleaner story than a candle surrounded by five unrelated props. Specificity sells.
- Pick natural window light or golden-hour outdoors. Both are free, both are forgiving, and both beat a bare overhead bulb every time.
For context on cost: traditional styled lifestyle images typically run from a moderate per-image fee to a full-day shoot rate before extras. AI-assisted generation can bring that cost close to zero per image after initial setup, though apparel and fit-dependent products still need a real body in frame. Studios like Kenitpatel sit between those extremes, offering professional results with a 2–3 day turnaround.
Table of Contents
- What makes lifestyle product photography different from white-background shots?
- Lifestyle imagery ideas by product category
- How to plan a lifestyle photo shoot before you arrive on set
- Location and lighting: what actually works for lifestyle shoots
- How to style a scene so the product stays the hero
- Camera, lens, and phone settings that give you usable results
- On-set workflow: the shot order that saves your shoot day
- Post-processing and delivery: the retouch steps that matter
- DIY, AI, or hire a pro? How to decide
- How a professional studio handles a lifestyle shoot from brief to delivery
- Key Takeaways
- The one thing most brands get wrong when directing models
- Useful sources and tools for going deeper
- Professional lifestyle photography without the production headache
What makes lifestyle product photography different from white-background shots?
White-background photography is about inspection. The buyer wants to see exactly what they're getting: shape, color, stitching, label. E-commerce best practice calls for 5–8 images per product, and Amazon expects a white primary image before anything else. Lifestyle photography does the opposite job. It's about projection: helping the shopper answer the question, "What will my life look like with this?"
Both image types belong in every listing. The white-background shot earns the click; the lifestyle shot closes the sale. A hiking boot on white paper communicates the product. That same boot on someone's foot mid-trail communicates a feeling.
Lifestyle imagery's primary goal is to bridge "what it is" (product spec) and "what it does" (emotional benefit). The best shots let shoppers visualize ownership and answer the implicit question: "What will my life look like with this product?"
Pro Tip: Every product needs a minimum asset set: one clean reference image, one hero lifestyle shot, and 2–4 context images showing scale, use, and environment. That's your floor, not your ceiling.
For apparel and fit-dependent categories, real models are non-negotiable. AI cannot reliably communicate how a shirt drapes or how a jacket sits on the shoulder. Accessories often need a hand or wrist for scale. Know which category you're in before you plan the shoot.
Lifestyle imagery ideas by product category
The fastest way to build a shot list is to start with a specific scene, not a vague mood. Here are ready-to-use prompts organized by category.
Skincare and beauty
- Serum bottle on a wet marble shelf, morning light from the left, single green leaf for color contrast
- Moisturizer jar open on a linen towel, soft diffused window light, woman's hand mid-application
- SPF product beside a straw hat and sunglasses on a wooden beach chair, bright midday backlight
- Cleanser tube in a steamy bathroom, mirror reflection visible, warm amber tones
Apparel
Real fit on a real body is required here. AI-generated apparel scenes consistently misread drape and fit. Shoot on a model, then use AI for background swaps if needed.
- Linen shirt on a model at a farmers market, natural overcast light, candid mid-walk frame
- Denim jacket on a rooftop at golden hour, slight backlight, city skyline soft in background
- Activewear on a model mid-stretch in a park, dappled shade, no direct sun on face
Food and beverage
- Coffee mug on a cozy desk, morning window light, open book and reading glasses nearby
- Hot sauce bottle beside a cast-iron skillet with sizzling vegetables, warm kitchen light
- Sparkling water can in a cooler on a picnic blanket, bright afternoon sun, fruit slices as props
Outdoor and sporting goods
- Water bottle clipped to a backpack strap on a trail, golden-hour backlight, blurred trees
- Tent pitched at dusk, lantern glowing inside, product logo visible through mesh door
- Sunscreen tube on a kayak gunwale, water reflections, paddler's hand reaching for it
Homewares
- Candle burning on a coffee table, soft evening light, throw blanket and book in frame
- Ceramic mug on a window ledge, rain on the glass behind it, steam rising
- Cutting board with fresh herbs mid-prep, warm kitchen overhead, chef's hands active
Accessories and jewelry
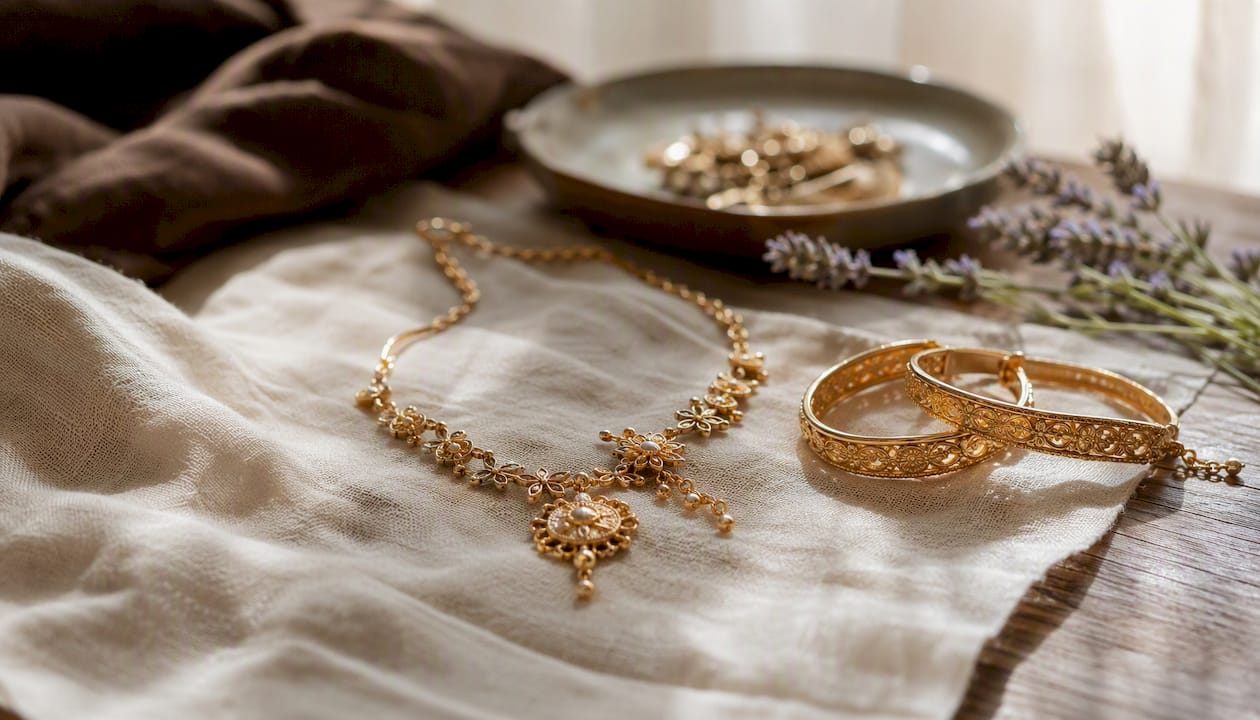
- Ring on a hand resting on a linen napkin, macro detail, natural side light
- Watch on a wrist mid-pour of coffee, warm morning tones, shallow depth of field
- Leather wallet on a wooden desk beside keys and a passport, travel context
Pro Tip: For AI-generated scenes, use a prompt structure that includes: subject action + environment + light quality + candid cue + texture reference (e.g., "shot on 35mm film"). That five-part formula consistently avoids the over-polished AI look.
The bright-airy aesthetic dominates beauty, wellness, home, and food brands. To nail it, use white linen, pale wood, ceramic surfaces, and soft north-facing window light. Lock that palette and reuse it across every shoot for catalog cohesion.
How to plan a lifestyle photo shoot before you arrive on set
Good preproduction is what separates a shoot that finishes in four hours from one that runs eight and still misses key shots.
Building your moodboard: Use Pinterest or Adobe Express to collect 10–15 reference images. Tag each one with three notes: the light direction, the dominant color, and whether the energy is candid or posed. That annotation forces you to be specific when briefing a photographer or stylist.
Shot list template (per product):
- Reference shot (white or neutral background, all angles)
- Hero lifestyle (primary scene, product prominent, one model or hand)
- Scale shot (product next to a recognizable object or in-hand)
- Detail shot (texture, label, or key feature close-up)
- In-use moment (product being actively used, candid energy)
- Lifestyle moment (wider scene, product as part of a story)
Aim for 6–10 scene variations per product. Locking a scene list upfront keeps AI-generated sets coherent and saves a photographer from guessing on set.
Props checklist:
- Keep props at the same scale as the product (no oversized items that dwarf it)
- Use materials that echo the product's positioning (linen for natural brands, marble for luxury, raw wood for outdoor)
- Limit to 3–5 props per scene; more than that and the product gets lost
- Avoid busy patterns that compete with the product's label or texture
Permits and model logistics:
- Public parks and beaches in most U.S. cities require a permit for commercial shoots. Check with the local parks department at least two weeks out.
- Any model appearing in commercial images needs a signed model release. Use a standard template from ASMP (American Society of Media Photographers) or a similar professional organization.
- For private locations (cafés, homes), get written permission from the property owner before the shoot date.
Pro Tip: Brief your model with a specific activity, not a pose. "Pour the coffee slowly and look at the mug" produces a more natural frame than "hold the mug and smile." Anticipating photogenic moments and starting to shoot before the planned action begins is how photographers catch the real expression.
Location and lighting: what actually works for lifestyle shoots
Natural window light
North-facing windows give the most consistent, shadow-free light throughout the day. East-facing windows give warm morning light that works well for food and skincare. Avoid south-facing direct sun mid-day; it creates harsh shadows and blows out highlights on reflective surfaces.
Simple window light setup:
- Position the product or model 2–4 feet from the window
- Place a white foam board or reflector on the opposite side to fill shadows
- Use a sheer curtain to diffuse direct sun if needed
- Shoot perpendicular to the window for side light, or at a 45-degree angle for a softer look
Outdoor golden hour
Golden hour runs roughly 30–45 minutes after sunrise and before sunset. The light is warm, directional, and flattering on almost every product category.
- Shoot with the sun behind the product (backlight) and use a reflector in front to fill the face or label
- Anchor lightweight products (labels, packaging) with a small sandbag or tape to prevent wind movement
- Overcast days are underrated: the entire sky becomes a giant softbox, and colors read true without harsh shadows
Dos and don'ts:
- Do: shoot in open shade on sunny days for even, neutral light
- Do: use a small LED panel as fill when shooting indoors near a window
- Don't: mix daylight and tungsten sources in the same frame without gelling one of them
- Don't: rely on your phone's auto-white-balance in mixed light; lock it manually
How to style a scene so the product stays the hero
Styling is the difference between a photo that looks like a product shot and one that looks like a moment someone actually lived. The product should be the first thing the eye lands on, and everything else in the frame should support that.
Prop selection rules:
- Props should echo the product's material or color family, not compete with it
- Keep scale relevant: a tiny lip balm beside a full-size book reads as an afterthought
- Use odd numbers of props (1, 3, or 5); even groupings feel static
- Avoid logos on props that aren't your brand
Composition moves that work:
- Rule of thirds: place the product at an intersection point, not dead center
- Negative space: leave breathing room around the hero product for text overlays (useful for social ads)
- Foreground element: a blurred prop in the near foreground adds depth without distraction
- Candid framing: a slight tilt or off-center crop reads as human-captured rather than staged
Pro Tip: Successful lifestyle photography emphasizes activity, imperfect framing, and lived-in details. A perfectly symmetrical scene with a spotless surface reads as stock. One crease in the linen, one coffee ring on the table, and the image suddenly feels real.
On-set styling checklist:
- Product label facing camera and wrinkle-free
- No dust, fingerprints, or smudges on product surface (check with a loupe or phone zoom)
- Props arranged, then step back and look through the viewfinder before shooting
- Color palette consistent with moodboard reference
Camera, lens, and phone settings that give you usable results
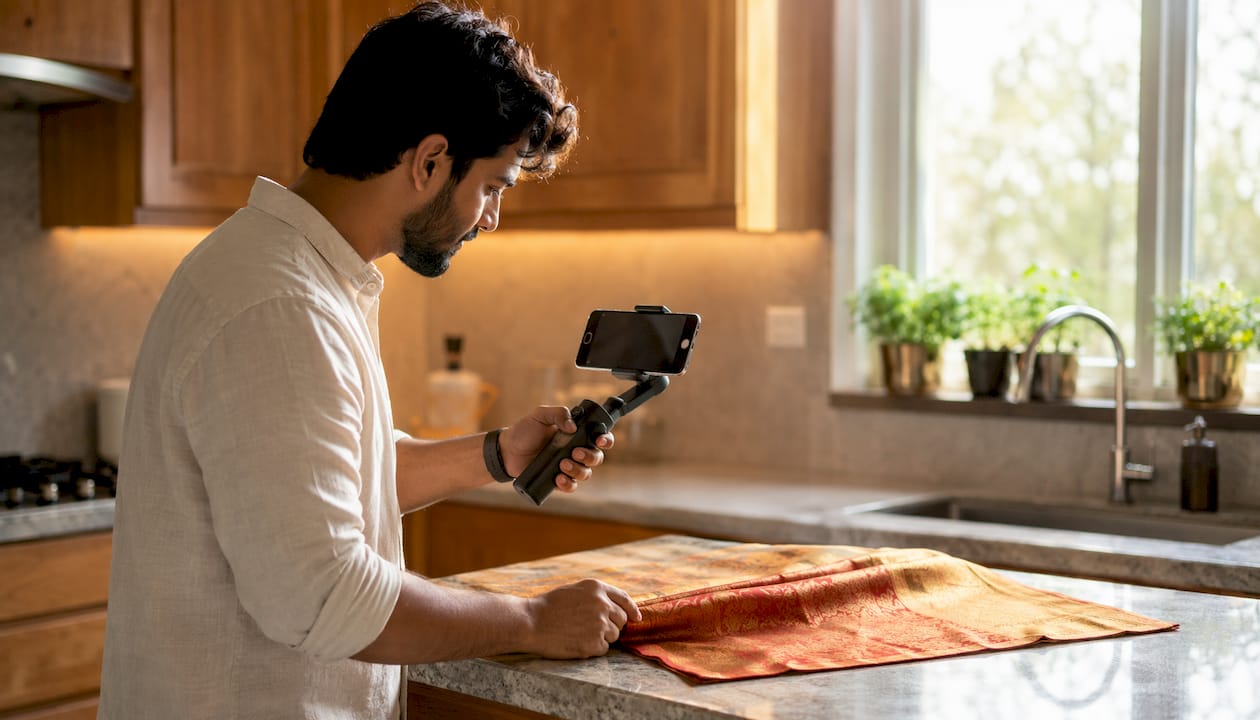
You don't need a full-frame camera to shoot compelling lifestyle images. A modern smartphone with a locked exposure and a white card reflector will outperform a DSLR with bad light every time.
| Situation | Aperture | Shutter Speed | ISO | Notes |
|---|---|---|---|---|
| Bright window light | f/4 | 1/60s | 100 | Reflector on shadow side |
| Overcast outdoor | f/4 | 1/60s | 200 | No fill needed |
| Golden hour outdoor | f/4 | 1/60s | 100 | Watch for flare |
| Indoor ambient | f/2 | 1/60s | 400 | Use a tripod |
Lens choices:
- 35–50mm: best for full scenes with model and environment in frame
- 85–135mm: compressed portraits and detail shots; flatters products and faces
- Macro (100mm): jewelry, texture, and label close-ups
Phone hacks that actually help:
- Lock exposure and focus by long-pressing the subject on iPhone or Android before shooting
- Use Portrait mode for shallow depth of field, but switch to standard mode for full-scene shots where you need everything sharp
- Never use digital zoom; move physically closer instead
- A $10 white foam board as a reflector does more for phone shots than any filter app
Pro Tip: Shoot RAW whenever your camera or phone supports it. JPEG bakes in white balance and compression; RAW lets you fix color temperature in post without quality loss. On iPhone, enable Apple ProRAW in Settings. On Android, use the native Pro mode or an app like Lightroom Mobile.
On-set workflow: the shot order that saves your shoot day
Running shots in the right order prevents the most common shoot-day problem: finishing the hero shot last, when the model is tired and the light has shifted.
Recommended shot order:
- Reference shot (product alone, all angles) while the set is fresh and untouched
- Hero lifestyle shot (primary scene, best light, full energy)
- Scale and in-use shots (model or hand interactions)
- Detail shots (macro, texture, label)
- Lifestyle moment shots (wider, more candid, lower stakes)
Tethering and on-set review:
- Tether to a laptop using a USB cable and Lightroom's tethered capture mode when shooting with a DSLR or mirrorless camera. This lets you review images at full size on a large screen in real time.
- Every 15–20 shots, pause and check: is the product sharp? Is the label readable? Is the color matching the moodboard?
- Assign one person on set to watch for continuity errors (props moved, label rotated, model's hair shifted).
Pro Tip: Start shooting before the planned moment. If the scene calls for a model pouring coffee, begin capturing as they reach for the pot. The best frame is almost never the one where everyone knows the camera is firing.
QA checklist before wrapping:
- Every shot on the list confirmed in camera (not just "I think I got it")
- At least two selects per required scene
- Immediate backup to a second card or portable drive before leaving the location
Post-processing and delivery: the retouch steps that matter
Less is more in lifestyle retouching. Over-processing kills the authenticity that makes lifestyle images work in the first place.
Retouch priority order:
- Color match to reference: make sure the product color matches the approved reference shot exactly
- Label and packaging cleanup: remove dust, smudges, and minor wrinkles from the product itself
- Shadow cleanup: soften or remove distracting shadows that pull the eye away from the product
- Skin and surface smoothing: light touch only; heavy retouching reads as fake
- Grain and texture pass: if the image looks too clean, add a subtle film grain layer in Lightroom or Photoshop to restore authenticity
Export presets for common targets:
| Platform | File Format | Resolution | Max File Size | Color Profile |
|---|---|---|---|---|
| E-commerce primary (Amazon) | JPEG | — | 10MB | sRGB |
| Social feed (Instagram) | JPEG | — | 8MB | sRGB |
| Instagram Story | JPEG | — | 30MB | sRGB |
| Email campaign | JPEG | — | — | sRGB |
| Print catalog | TIFF | — | No limit | CMYK |
Naming convention sample: BrandName_ProductSKU_SceneType_Version_01.jpg (e.g., Kenitpatel_SK001_Lifestyle_Hero_01.jpg). Consistent naming makes batch delivery and future asset retrieval fast.
Pro Tip: Build export presets in Lightroom or Capture One for each platform and save them. The first time you set them up takes 20 minutes; every subsequent batch takes 30 seconds. Name the preset after the platform, not the project.
DIY, AI, or hire a pro? How to decide
The honest answer depends on three things: your volume, your product category, and what the images are for.
| Option | Typical U.S. Cost | Turnaround | Best For |
|---|---|---|---|
| DIY (phone + window light) | close to zero | Same day | Low-volume, simple products, social content |
| AI-assisted generation | close to zero per image after setup | Minutes | Non-apparel products, background swaps, scale testing |
| Freelance photographer | moderate per-image fee | 2–3 day turnaround | Mid-volume, brand-consistent shoots |
| Full-day studio shoot | full-day shoot rate before extras | 1–2 weeks | High-volume, complex styling, marketplace launches |
When to outsource:
- You're launching on Amazon or Flipkart and need a white-background primary image plus 5+ lifestyle images per SKU
- Your product is apparel, jewelry, or anything where fit, texture, or scale is the selling point
- You're running paid ads and need images that perform at scale (bad creative is expensive at scale)
- Your current images have a return rate or low conversion rate you can't explain otherwise
Decision checklist:
- Volume over 20 SKUs? Consider a studio.
- Apparel or fit-dependent? Real model required.
- Budget under $500 total? DIY or AI for non-apparel.
- Marketplace launch with strict image requirements? Hire a pro who knows the platform specs.
- Need catalog consistency across seasons? Studio with a locked look and reusable set.
Pro Tip: AI-generated scenes work well for non-apparel products where the product's shape and label are the main visual. For anything that needs to communicate fit, drape, or human scale, budget for a real shoot. The cost of a bad apparel image is a high return rate, not just a missed sale.
How a professional studio handles a lifestyle shoot from brief to delivery
The Kenitpatel studio workflow is a useful template whether you're hiring a pro or running your own shoot.
Studio steps:
- Brief: Client submits product samples, reference images, platform requirements, and a scene list (6–10 contexts per product)
- Preproduction moodboard: Studio builds a lighting and prop plan matched to the brand's color palette and target platform
- Test set: One product shot in the first planned scene to confirm light, color, and composition before the full shoot
- Full shoot: All scenes executed in shot-list order; tethered review after every major setup change
- Retouch: Color match, label cleanup, shadow work, and export to platform specs
- Delivery and metadata tagging: Files named by SKU and scene type, delivered with a usage rights summary
Deliverable checklist per product:
- White-background primary image (platform-ready)
- 3–6 lifestyle images (hero, scale, in-use, detail, moment)
- Alternate crops for social (square, story, landscape)
- Retouched TIFFs for print and retouched JPEGs for web
- sRGB exports for all digital platforms
Pro Tip: Studios lock a consistent look across seasons by building a "look bible": a one-page document with the approved light setup, surface materials, color palette, and prop list. Every shoot references it. If you're doing this yourself, photograph your set before striking it so you can rebuild it exactly next time.
Key Takeaways
Lifestyle product photography works when the scene answers one question for the buyer: "What does my life look like with this product in it?"
| Point | Details |
|---|---|
| Start with a reference shot | A clean product-alone image anchors every lifestyle scene and prevents label drift or proportion errors. |
| Match the image type to the job | White-background shots earn the click; lifestyle shots close the sale. Most listings need both. |
| Apparel needs a real model | AI cannot reliably communicate fit or drape; for clothing and fit-dependent products, budget for a real shoot. |
| Kenitpatel for professional results | Kenitpatel delivers e-commerce-ready lifestyle and white-background images with a 2–3 day turnaround for brands that need consistent, platform-optimized results. |
The one thing most brands get wrong when directing models
The most common mistake in lifestyle shoots isn't the light or the props. It's over-direction. When a model knows exactly what the "hero moment" is, they perform it, and the camera catches performance instead of life. The frames that actually convert are the ones shot two seconds before or after the planned pose, when the model is transitioning and their expression is unguarded.
The other thing worth saying: consistency across a campaign matters more than any single great shot. If your spring collection uses warm amber tones and your summer drop shifts to cool blues with different models and different props, the brand reads as fragmented. Lock your model, your surface set, and your light direction for the full campaign before you shoot the first frame. Changing any one of those mid-campaign costs more in reshoots than it saves in creative variety.
Useful sources and tools for going deeper
A short list of vetted references for planning, shooting, and generating lifestyle product images.
- Shopify's product photography guide: The most practical DIY walkthrough available; covers lighting setups, equipment lists, and platform-specific requirements for e-commerce sellers.
- LocalBanana AI prompt guide: Detailed prompt formulas for generating lifestyle scenes with AI tools; includes texture anchors and candid cues that prevent the over-polished look.
- Cladegrove AI lifestyle photography guide: Covers the full AI-assisted workflow from reference shot to scene generation, with honest notes on where AI falls short (apparel, fit).
- Miraflow bright-airy prompt library: Ready-to-use prompts for beauty, wellness, and home brands targeting the bright-airy aesthetic; includes palette and surface recommendations.
- The Photo Argus lifestyle examples: 30 annotated real-world lifestyle photography examples across categories; useful for building moodboards and understanding what separates a strong shot from a weak one.
- Photography Icon product photography guide: Covers camera settings, lighting diagrams, and marketplace image requirements in plain language.
- Kenitpatel professional studio: Full-service product photography for e-commerce, jewelry, textiles, and FMCG brands; 2–3 day turnaround, platform-optimized delivery.
Professional lifestyle photography without the production headache
Most small brands hit the same wall: they know their product deserves better images, but a full-day studio shoot feels out of reach and DIY results look exactly like DIY results.
Kenitpatel is the direct alternative. The studio specializes in e-commerce product photography for jewelry, textiles, FMCG, and pharma brands, with a workflow built around fast turnaround and platform-specific delivery. You get white-background primary images and lifestyle context shots in the same session, delivered within 2–3 days and sized for Amazon, Flipkart, Myntra, and D2C storefronts. No location scouting, no prop sourcing, no post-processing guesswork. The studio has photographed over 1,000 products and knows exactly what each marketplace requires before the shoot starts.
If you're ready to move from placeholder images to images that convert, get a quote from Kenitpatel and have platform-ready lifestyle shots in your hands by the end of the week.